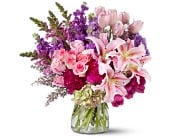
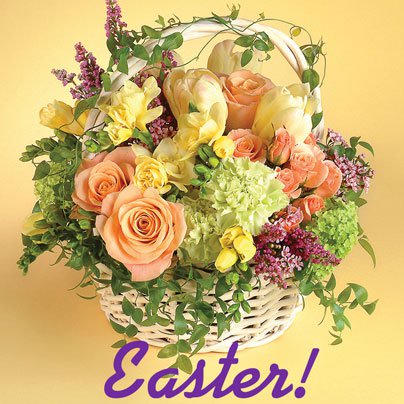
We love this time of year when Easter arrives because not only is it another fun holiday to celebrate with friends and family, but a time to start crafting spring themed projects again! Flower arrangements are included on this list and make excellent decorations for the gathered festivities so make sure to save time during your planning stages. If you are a person who prefers to let the experts handle the heavy work, you’ll have no problem ordering a stunning arrangement for your table. If on the other hand, you look forward to the challenge of maybe making your own, here are some tips to guide you through the process. Don’t be intimidated if your bouquet doesn’t turn out exactly like the picture you’re studying from because all creations will vary in size, shape and dynamic. This is what makes floral designing so much fun and a true artistic simulation. Remember, when you put your heart, soul and imagination into what you do, beautiful outcomes are bound to happen…
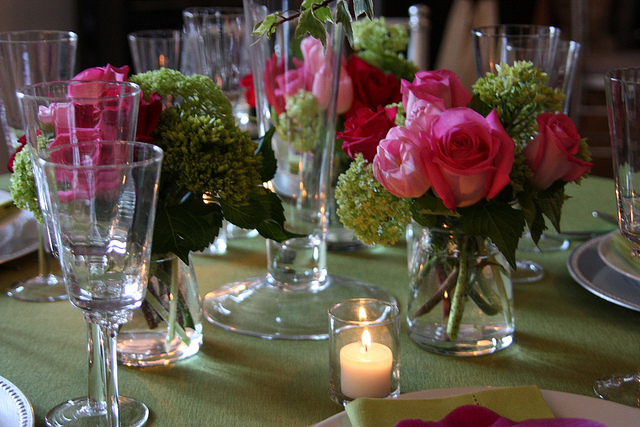
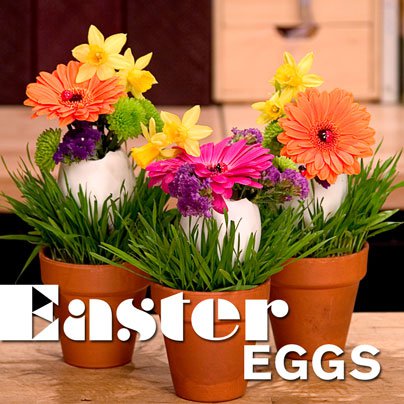
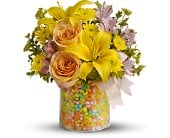
photo via aboutflowers.com
Do-It-Yourself Easter Floral Arranging Directions
Go online and check out the local flower shops and farm stands around your area who carry fresh flowers sold in bundles. Most floral outlets do not sell inventory in this fashion so you’ll want to do your research beforehand. Once you have located your destinations, browse the selections available and opt for varieties which appeal to you. If you are sticking with the Easter motif, grab species in pastels or those typical to the season such as hyacinth, tulips, hydrangea, pussy willow, forsythia, sweet pea and delphinium. You’ll notice the selection has drastically changed overnight from winter’s hardier blooms to softer pedaled heads, so don’t shy away from trying something new. If you like branches, there should also be cherry blossoms available which make stunning centerpieces all on their own. If you prefer the European style of tightly compacted bouquets, choose types that have similar surfaced heads like ranunculus and anemones. Don’t forget to pick up a bunch of greenery like lemon leaf or ruscus to use for filling in wholes and finishing off your arrangement.
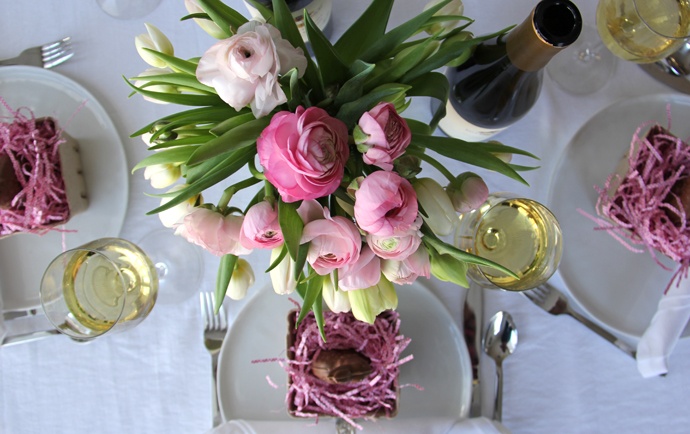
Alright…now that you have all your flowers at home, undo the packages and lie the different varieties next to each other to make arranging easy. Select a vase such as a bubble bowl, ceramic container, urn or glass cylinder, fill with warm (not hot water) and begin to “green” the insides. This means make a ring of foliage on the outer inside of the container to place a base for the flowers to rest upon. Next, layer with the blooms you’ve chosen while remembering to constantly turn the vase. This will ensure that you are properly leveling the piece evenly. When you have finished, fill in the spots you may have missed with remaining flowers and foliage and place in the middle of the table. Be proud of yourself because you have just designed your first Easter centerpiece!

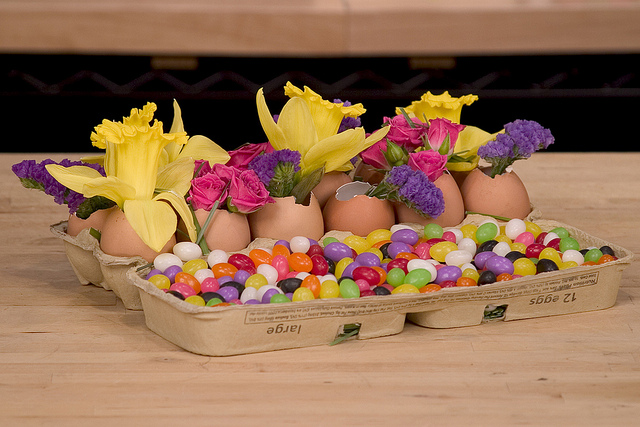





 Jonathan Bornstein